7.21.2011

[Crafts] Beaded Crochet Bracelets


Everything has its goods and not-so-good-but-not-bads. In the case of my hobby life, since I have so many, it means higher expenditure on purchasing materials and tools, as well as having to find a big enough space in my tiny room in Brooklyn to store all those things. But the good part is that I am never bored.

This past week or so has been a "crochet" and "learn to tat" time for me. I found a wonderful tutorial by Alice on her futuregirl craft blog.
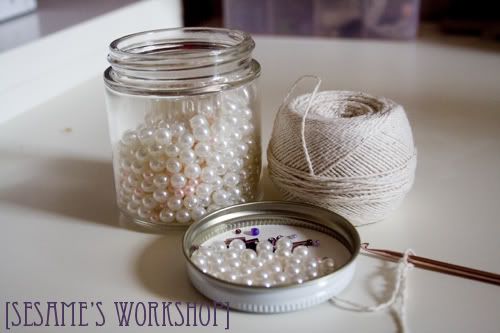

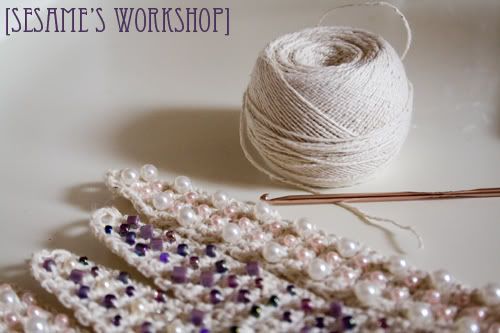
Since I had a ball of cotton thread rolling around in my drawer, some pearls and beads purchased for sewing, and random buttons, I decided to try it out.

These are the instructions and pattern that Alice posted on her blog:

Abbreviations
sl = slip stitch
ch = chain
sc = single crochet
bsc* = beaded single crochet

*Bead Single Crochet: (bsc): Do a normal single crochet, except after you put your hook through the stitch in the previous row, pull a bead up to your hook and then yarn over using the crochet cotton thread on the far side of the bead.  Then pull the loop through the stitch in the previous row.  You will now have two loops on the hook and the bead will be looped against the piece.  Yarn over and pull through both loops to complete the single crochet.

Basic Instructions
· Thread 48 beads on crochet cotton thread.
· ch 7, leaving about 10" of crochet cotton thread before the start of the chain.
· Row 1 - Starting with 2nd ch from hook, sc in each of the next 6 ch, ch 1, turn.
· Row 2 - sc in each stitch across (total 6), ch 1, turn.
· Row 3 - sc in each stitch across (total 6), ch 1, turn.
· Row 4 - sc, bsc, sc, bsc, sc, bsc, ch 1, turn.
· Row 5 - sc in each stitch across (total 6), ch 1, turn.
· Row 6 - 2 sc, bsc, sc, bsc, sc, ch 1, turn.
· Row 7 - repeat Rows 3-6 until you've used all the beads.
· Last Row - sc in each stitch across (total 6), ch 3, turn.
· Button Hole - skip 5 stitches, sc in last stitch of previous row, finish off, weave in end.
· Attach button with 10" thread at beginning of bracelet and weave in end.
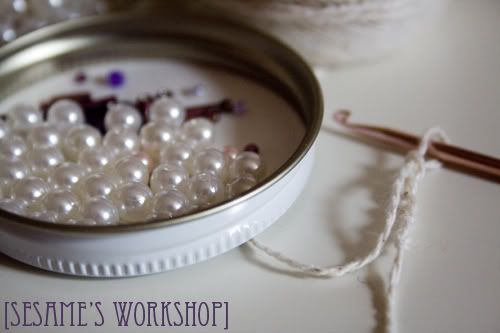


I used a size 1 hook (2.25mm) - the cotton thread that I used was pretty thick. I'm guessing a size 5 or even 3?
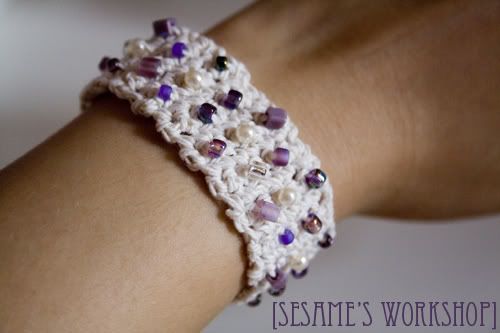
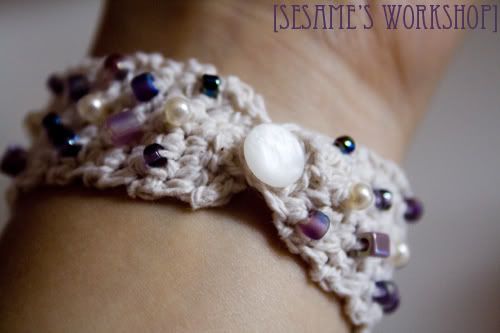


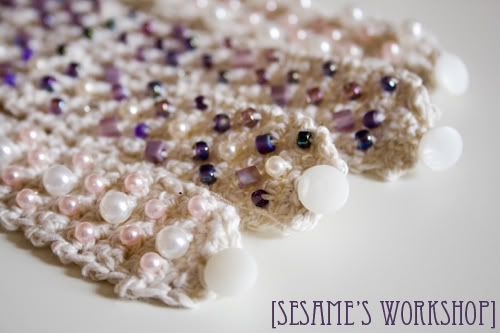
The bracelet fits perfectly on my wrist - not too tight, not too big. However, the pattern is super easy that you can adjust how long or short you want to make the bracelet. 
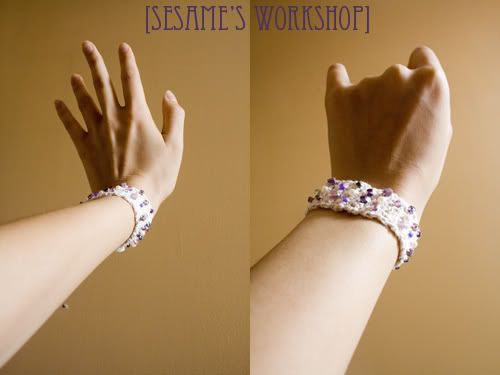


I ended up making four bracelets with different patterns of pearls and beads. 
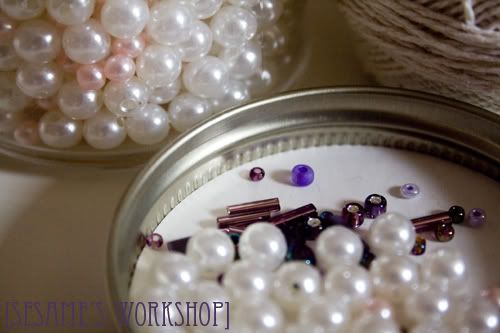


I'm glad I've finally made use of these big faux pearls and assortment of purple beads! 

7.20.2011

[Crafts] Playful Kitties

I am the type of person who needs to try a hand in everything - sewing, knitting, crocheting, baking, you name it. So it wasn't a big surprise when I found myself at the Blick Store to buy tools the very next day after discovering fabric painting. I figured, "Hey, this person did it. Why can't I?" 

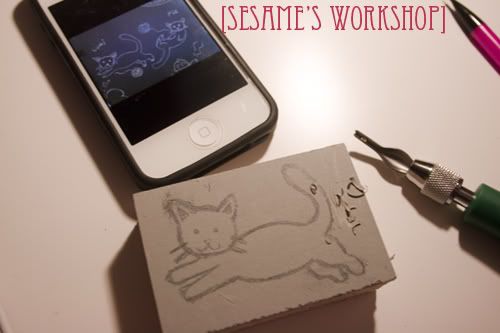
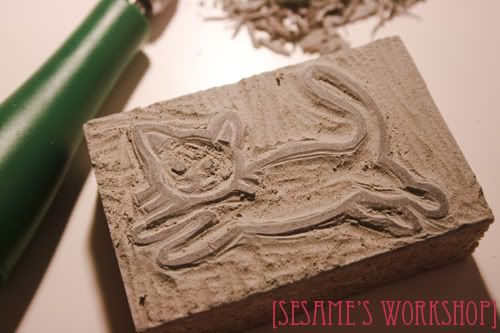
I purchased the store's brand of linoleum cutter tools, linoleum blocks, and Jacquard Textile Colors in Maroon (109) and Colorless Extender (100) in case I wanted to make the color lighter. 

After pondering what design to try out, I decided to cut out a stamp of a drawing of our kitties I had drawn on our living room chalkboard wall. I knew I should be starting with something simple to get used to using the tools and carving, but before I knew it, I was working away. 


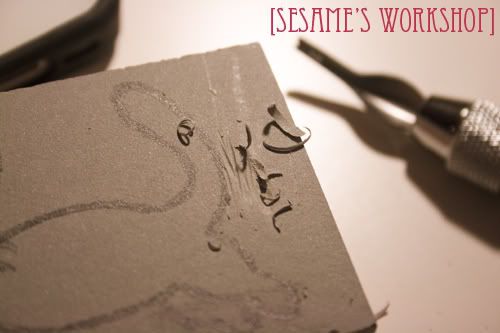
Boy did I regret having started with something of a higher difficulty level... My arms and shoulders and neck started to ache terribly, and I began to wonder why I even thought of doing this myself.


But after three, long hours of labor, I had a finished product, and I couldn't wait to try it out!


One thing for sure, carving/cutting is a messy hobby! Blick's cutter tools were pretty okay - I'm sure higher-end tools carve much smoothly and easily, but I think these are pretty good quality and economic for those who want to give stamping a try as a hobby. 


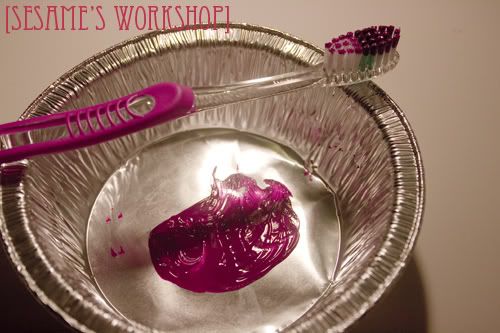
I squeezed out a bit of the fabric paint on a disposable plate. Although it would have been much ideal to use those paint rollers to roll out the paint evenly and then apply by stamping on it, I had to do with what I had, so I applied the paint directly on the stamp with an old toothbrush. 


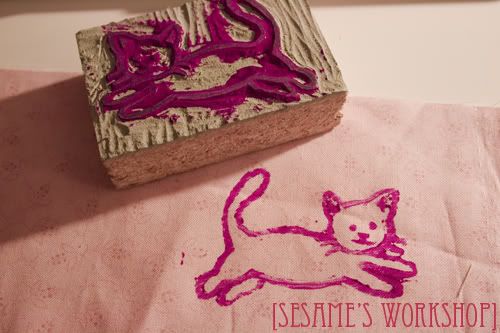
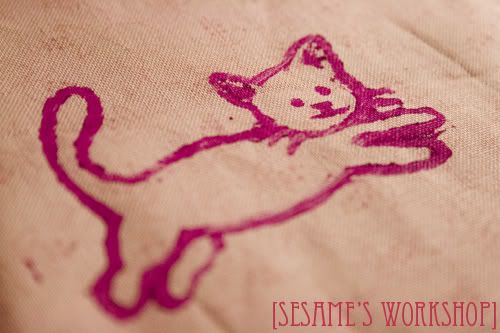
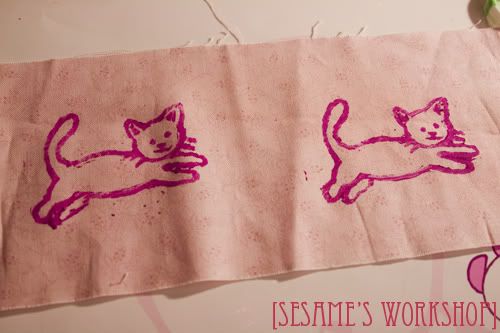
And while the result was not perfectly smooth or clean (which also results from my amateur cutting job), I was definitely satisfied! 


The facial features and whiskers came out a lot better than I expected. Yay!


So I had to stamp a second kitty... 


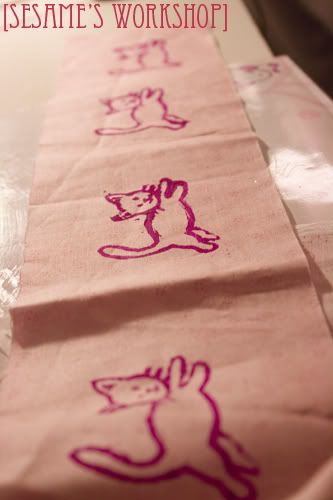
And then two more. Might be using this strip of printed fabric for a future craft project. 


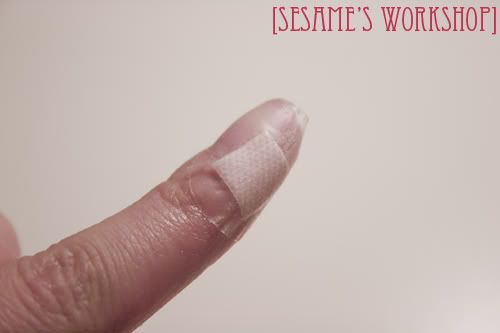
Although I accidentally cut myself during the process, it was well worth the experience. I'm thinking of using this stamp when making a pouch or pencil case. Maybe even my Kindle pouch, when I get around to making it. 

I have another linoleum block to make a second stamp, but this time, I think I'll cut out something that can be used as a pattern than a drawing. Maybe a heart-incorporated design? We'll see! 

12.05.2010

[Crafts] Something Yellow

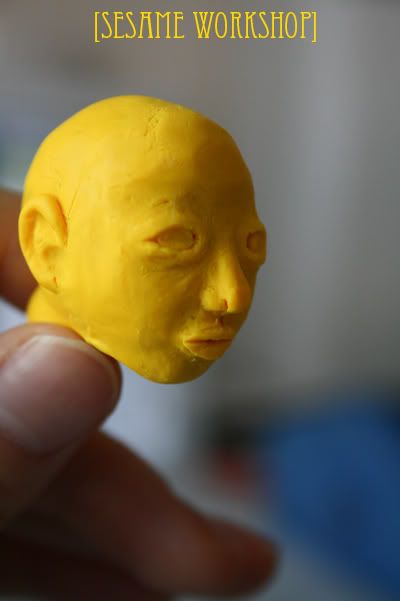
Yesterday night, I happened to get my hands on some polymer clay. While watching "Secret," a Taiwanese movie that my friend has been telling me to watch for the past two years, I tried my hand at sculpting. 

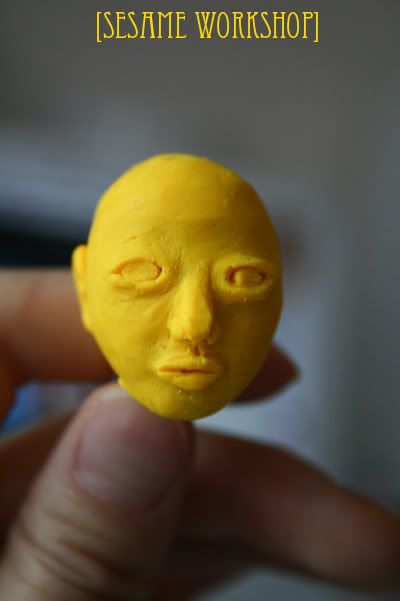
This was the result when I finished the movie. 

Pouty lips. 


Thick eyelids. Protruding eyes. Heavy bags.


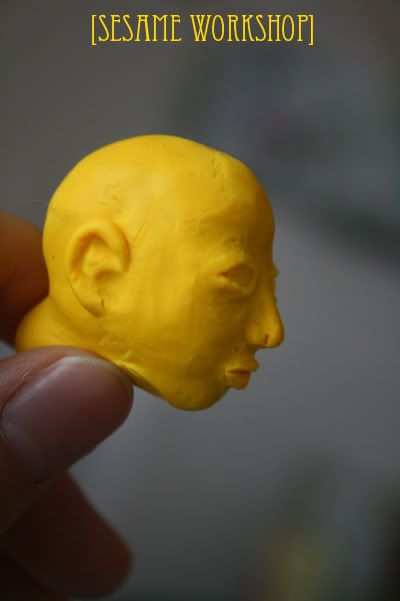
The lips are definitely pouty. 
Perhaps having the chin and forehead protrude a bit more would help.


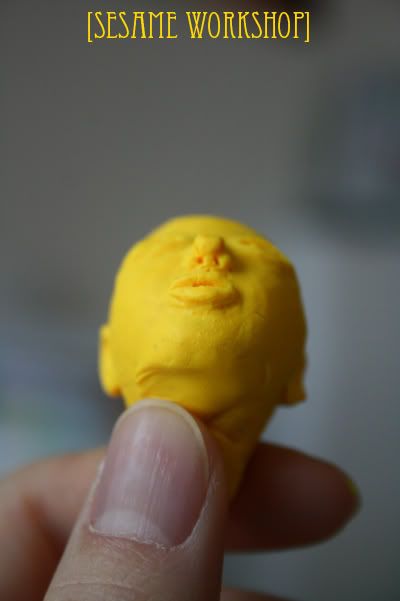
The nose and nostrils were a pain to sculpt, especially at this scale,
but I'm sort of proud of how they turned out. 

Polymer clay has to be baked in an oven to be cured, but I don't think I will.
Maybe that's why it's so pouty. 

The hardest part is knowing where the curves and angles are and getting them right, 
since I've never sculpted before nor studied anatomy. 
Neh. Maybe I'll leave sculpting aside for now.